Editing sub-components on Page Studio is easy and quick. Here's how you can do it.
Step 1: Click on the ‘Edit’ icon in the section that you wish to add or edit a sub-component.

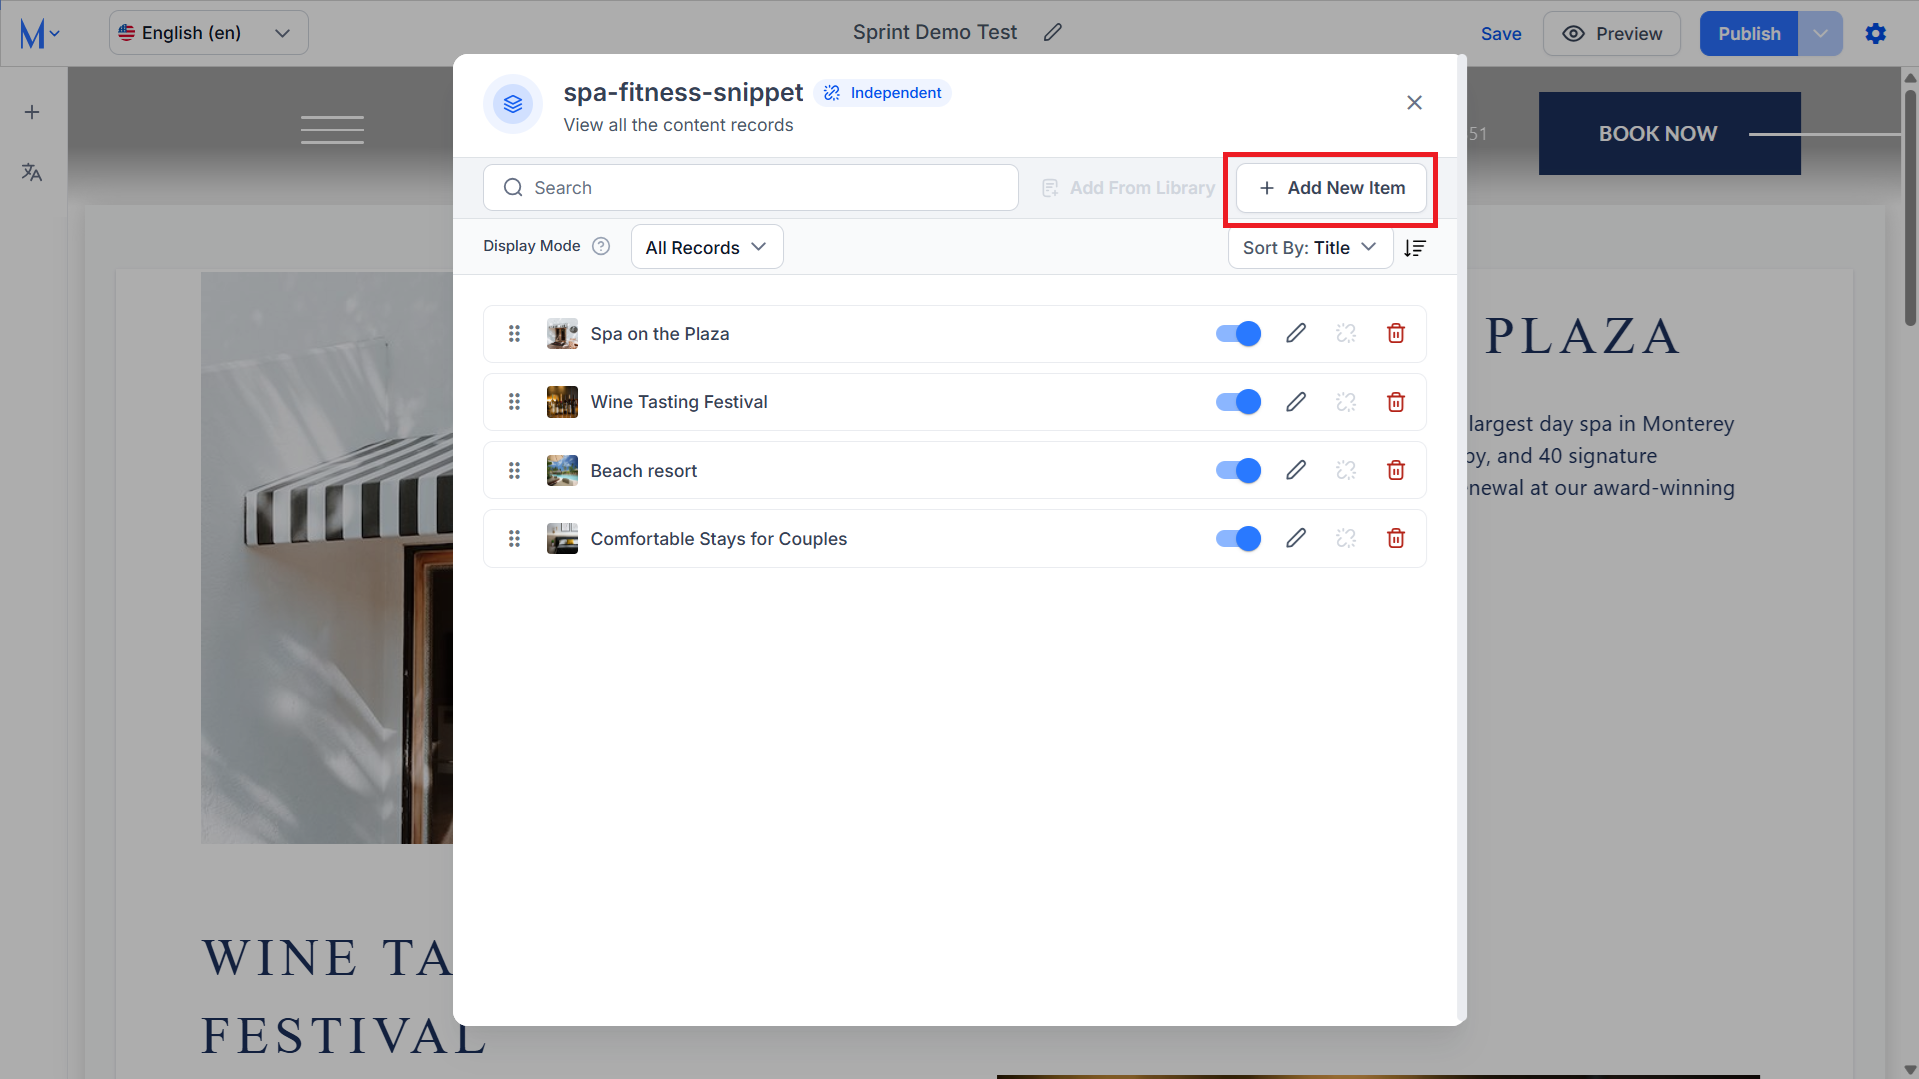
Step 2: Click on ‘Add New Item’ to add a new component to the section.
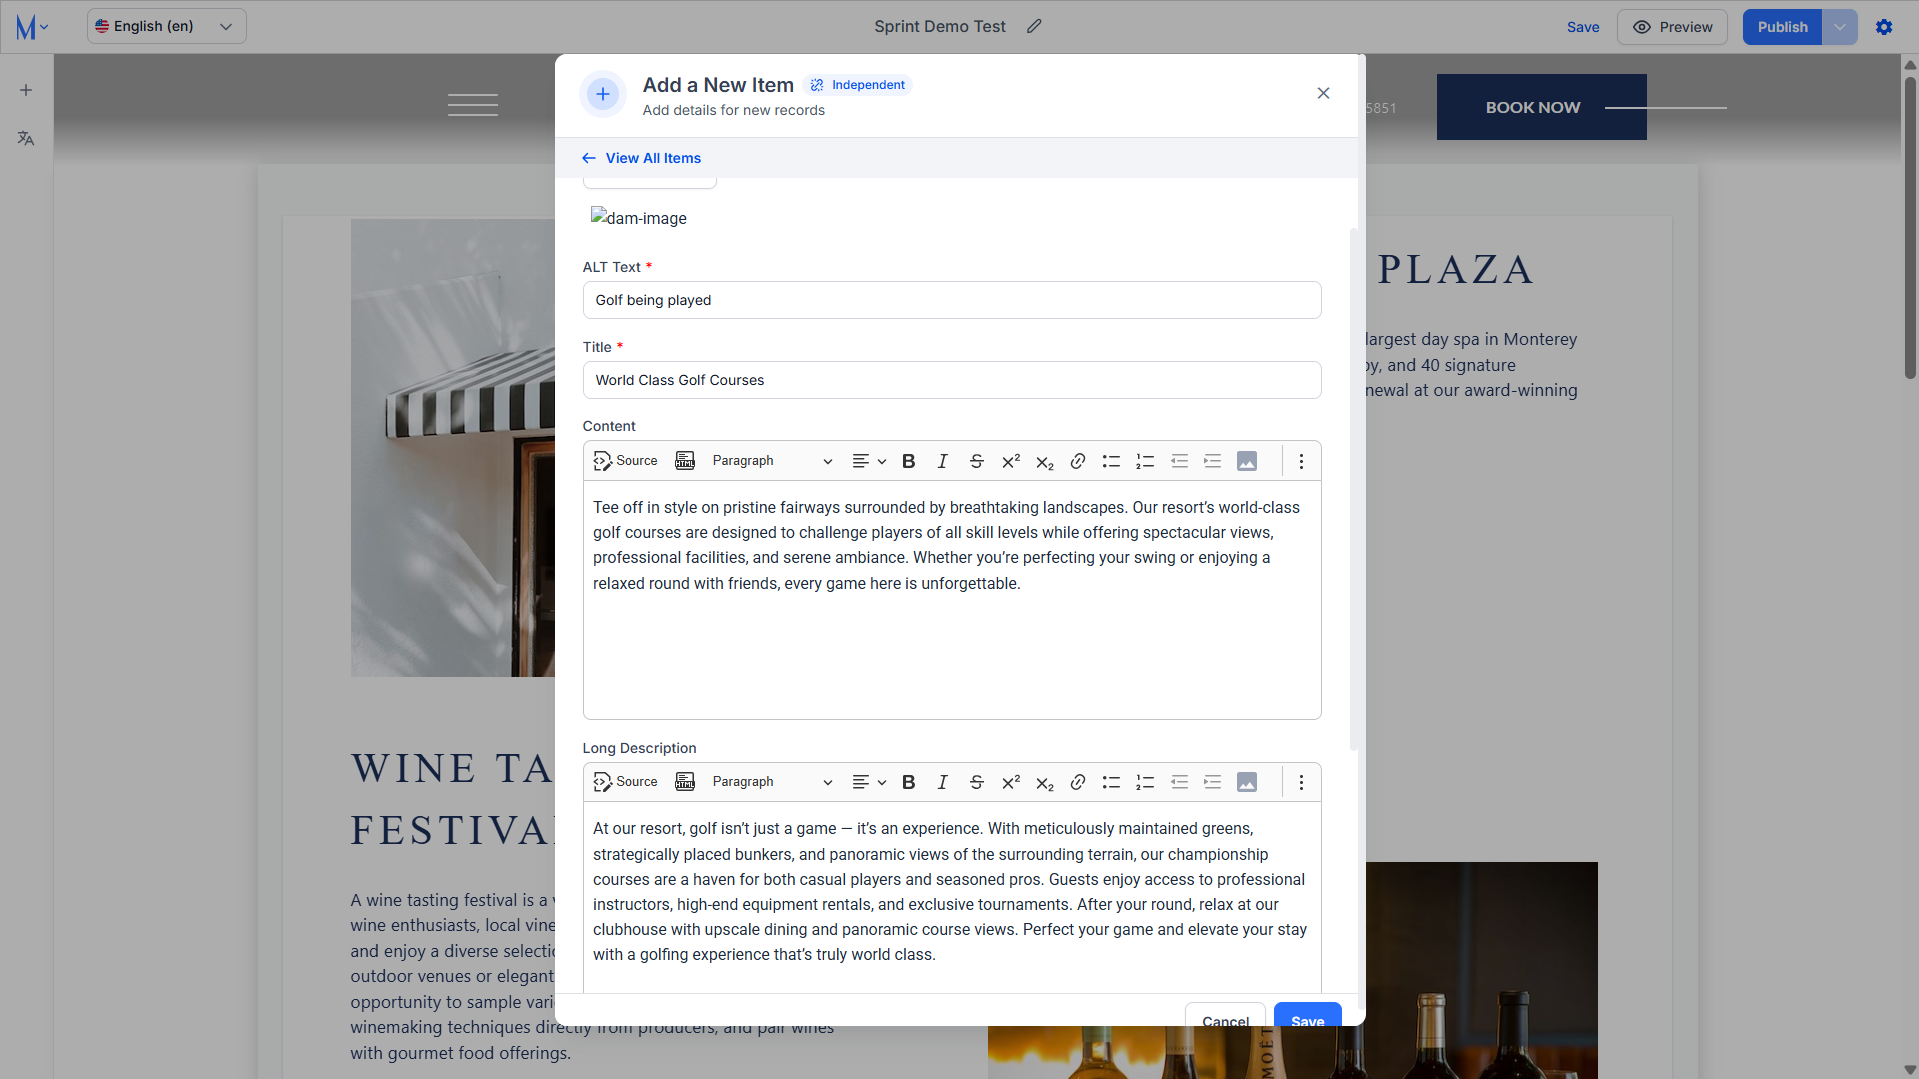
Step 3: Provide the details for the main component within the section.
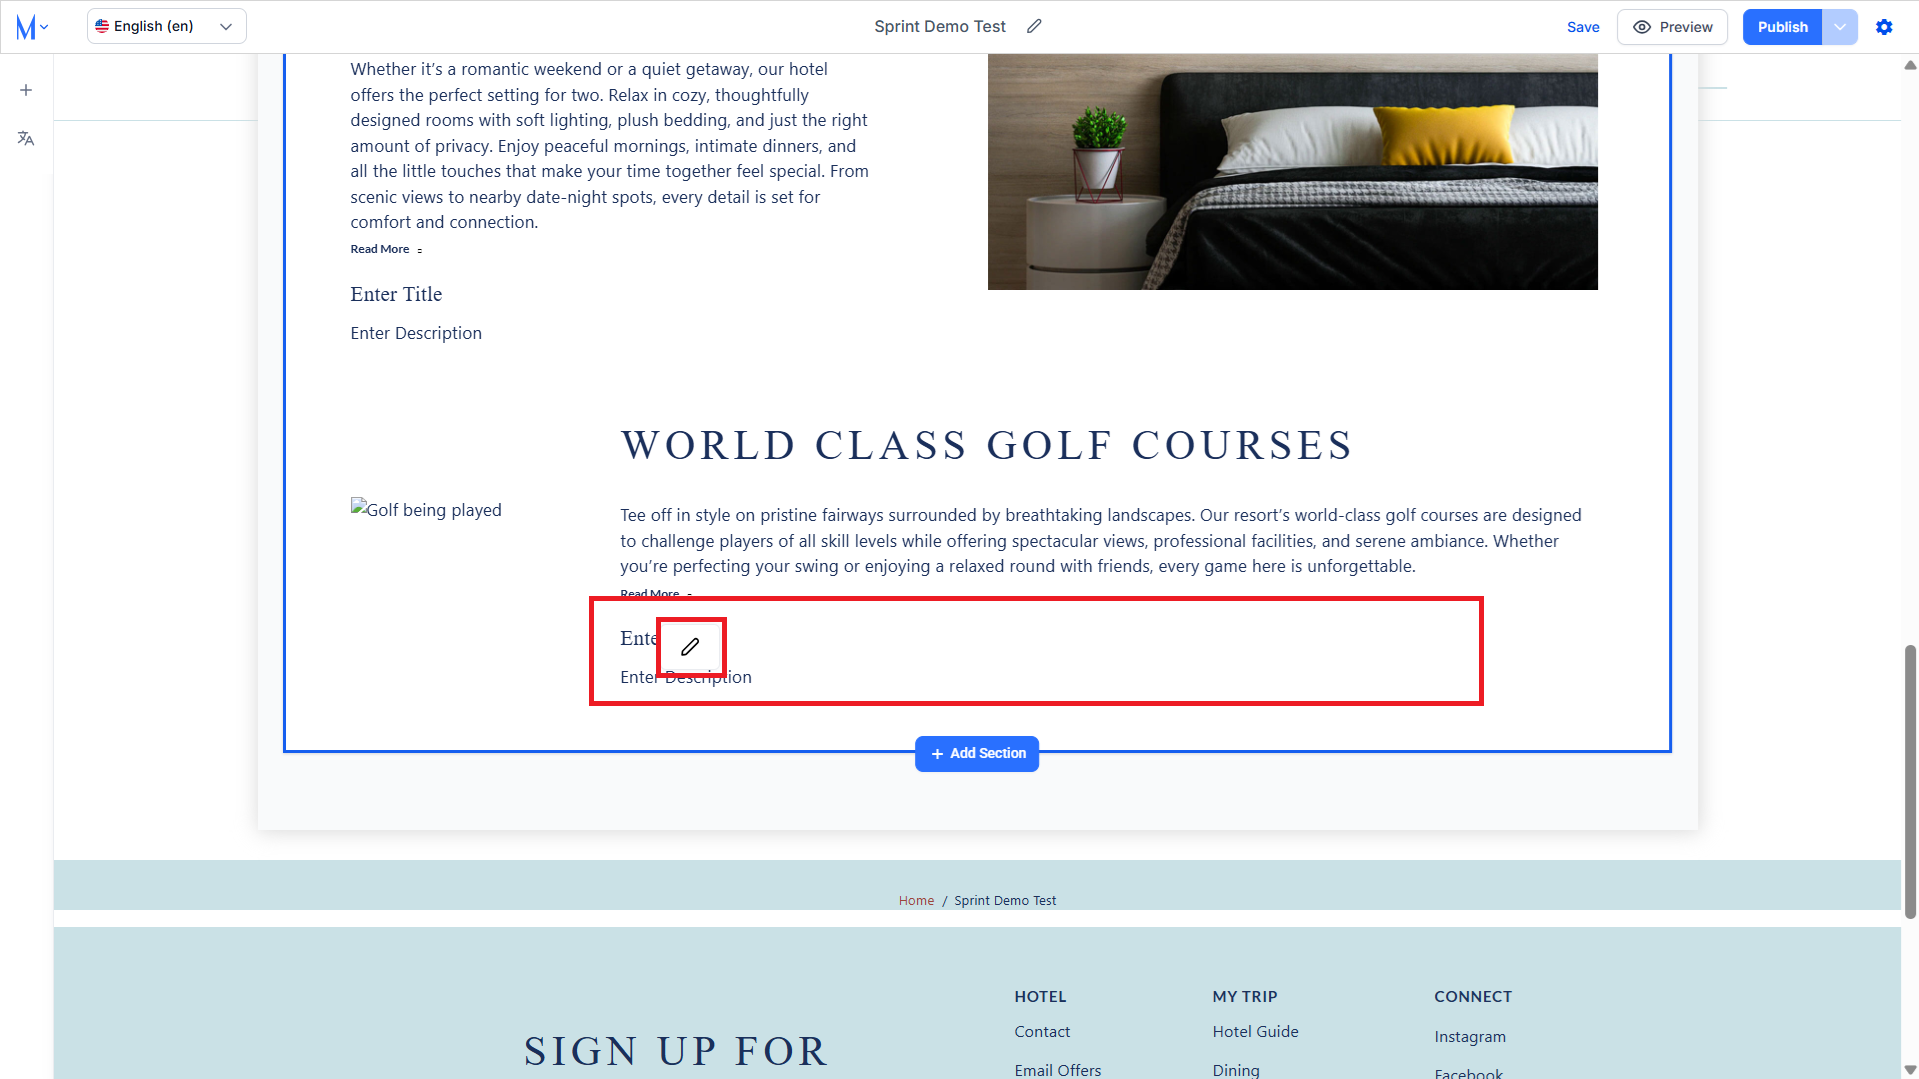
Step 4: The component will be created within the section with a placeholder for sub-component content. Click on the ‘Edit’ icon on the sub-component to add content to it.
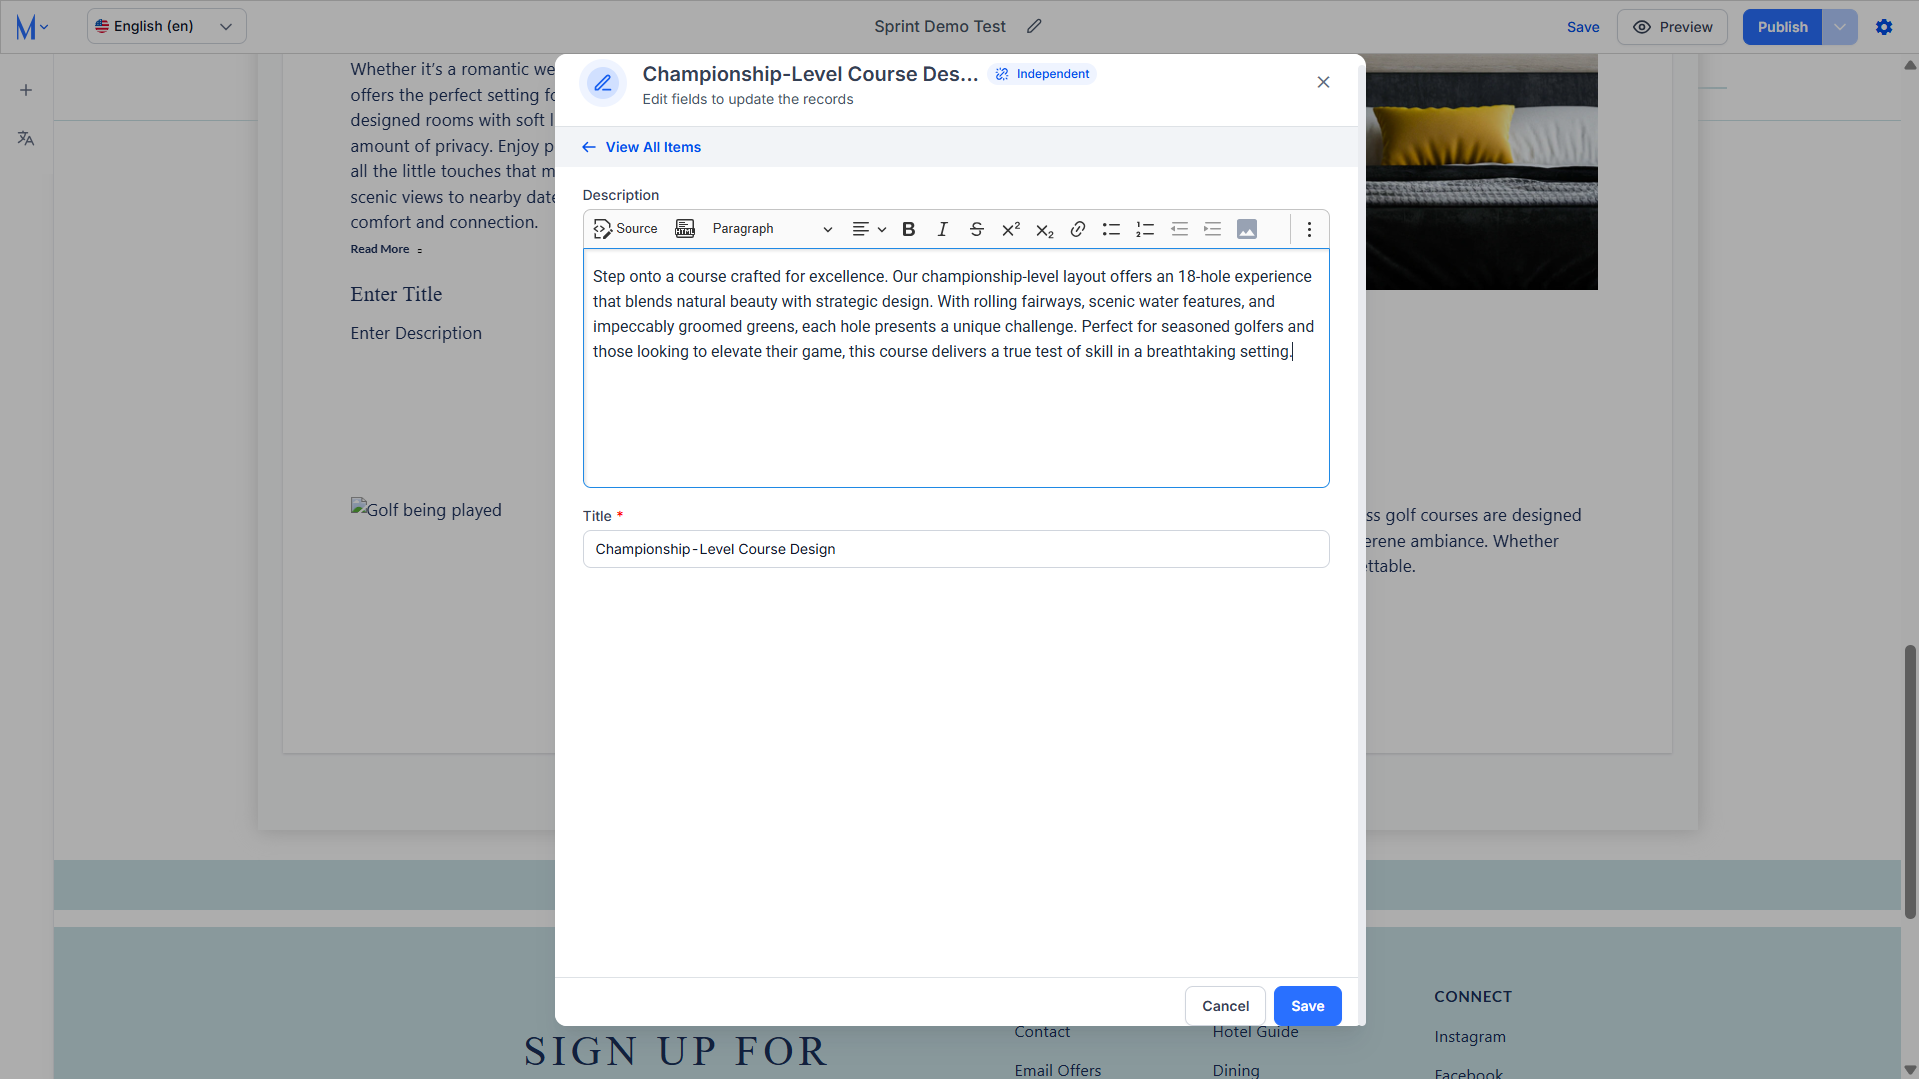
Step 5: Provide the content you want to add to the sub-component and click on ‘Save’.
Step 6: Add more sub-components by clicking on the ‘Edit’ icon on the sub-component.

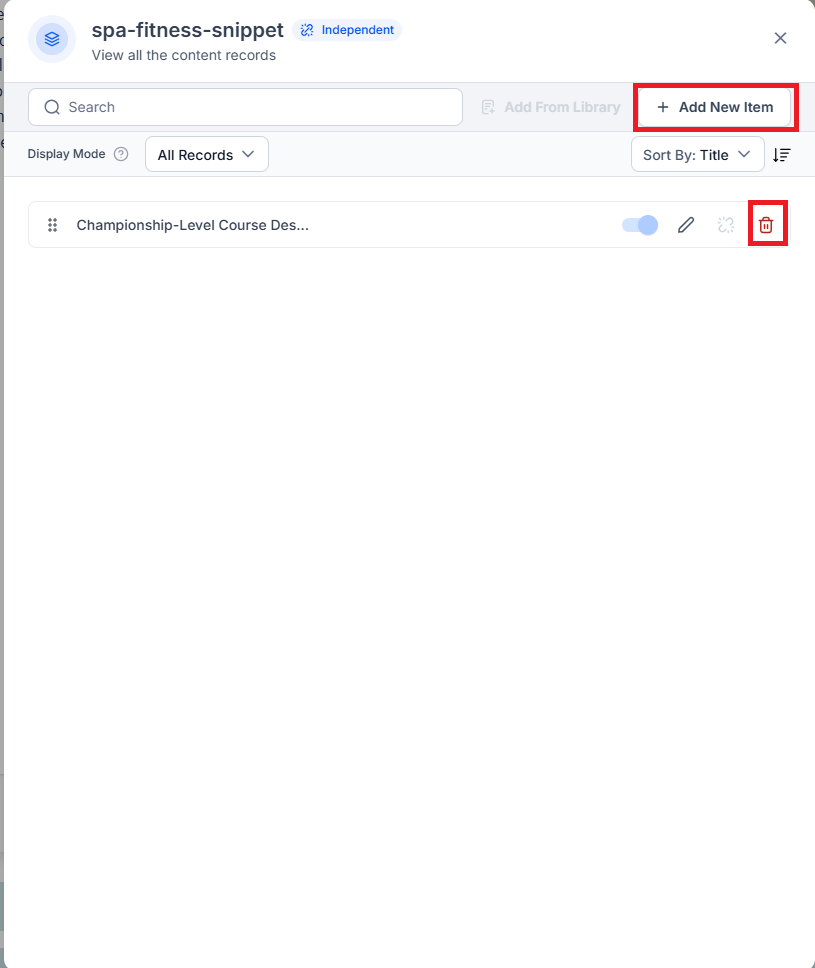
Step 7: Now, click on the ‘View All Items’. This will display all the sub-components within this component.

Step 8: Here you can add a new sub-component by clicking on ‘Add New Item’ or delete the existing sub-component by clicking on the ‘Delete’ icon.
Was this article helpful?
That’s Great!
Thank you for your feedback
Sorry! We couldn't be helpful
Thank you for your feedback
Feedback sent
We appreciate your effort and will try to fix the article